GIS in Context
“QGIS can open or connect to many different data sources. These include various vector and raster file formats, databases and web services. You can add them using Data source manager or Browser panel.”
In this module we will go through the essential steps to start working in a desktop GIS: finding, viewing, exploring and otherwise navigating your data!

You try:
Goal: Find and open some vector and raster layers and perform some basic operations on them
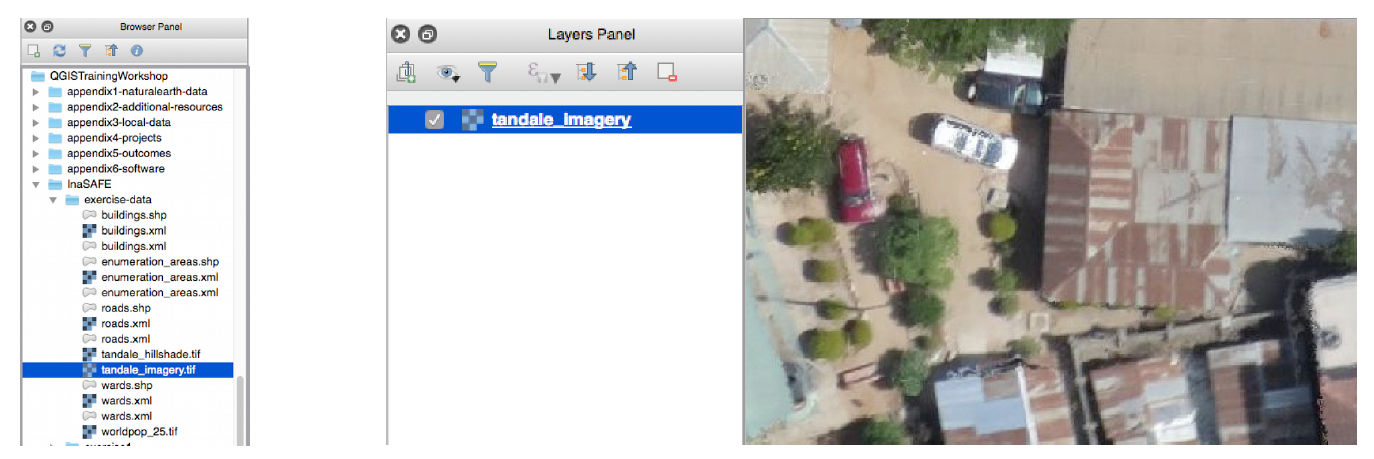
- Find the Tandale raster layer in the attached zip file.
- Load the Tandale raster layer by dragging it onto the canvas and zoom to its extent
- Load the exercise database layer by navigating to the exercise sqlite file with the 'Open vector layer' menu item or Data Source Manager tool or in the browser panel.
- Zoom in and out; pan around
- Zoom to the full extent of all drawn layers.
- Make a layer active and zoom to its extent.
- Use identify button to see the details of a feature in the active layer.
- Drag layers so that you have points on top, then lines, then polygons, then rasters
- Try switching layers on and off.
- If you are online, try adding a layer with the OpenLayers or QuickMapServices plugin or XYZ tiles from the browser panel.
Check your results:
- Did you figure out how to go back and forth between extents?
- With the data you loaded, do you think you can make a map with the Tandale aerial imagery and the Natural Earth layers together? Why did you give that answer?
- Did you find where you can switch all layers on or off at once?
| Name | Expectation |
|---|---|
Vector data |
navigating-map-data/ne.sqlite |
Raster data |
navigating-map-data/tandale_imagery.tif |

More about
QGIS, like a typical desktop GIS package, uses the concept of layers drawn on top of each other to make a map. The most common data types for these layers are vector and raster.
You can use the 'Add Layer' tools or menu items to find and load layers or you can browse to them in the Browser panel and drag them into your map.
Hint: If you do not find the 'Add Layer' tools you need to activate the 'Manage Layers Toolbar' or access the 'Data Source Manager' from the Layer Menu.
Then you can use various tools to pan and zoom around your map and explore your data.

Check your knowledge:
-
You added layers to QGIS but you can't see all of them. Why:
- Your view extent does not coincide with the layer extent
- It's the data provider's fault
- Your layer ordering has resulted in some layers obscuring other layers
- There is a bug in QGIS
-
If you zoom in close to the exercise vector data it doesn't look good nor correct. Why is this:
- It was poorly digitised
- It has been corrupted
- It was intended for a smaller scale
- It is simplifed
-
I click on the map with the identify tool but either no attributes or the wrong attributes come up. Why:
- The data was captured incorrectly
- The layer I want to query is not active
- The layer I want to query has no attribute felds
- All of the above
- None of the above

Further reading:
-
Gentle_gis_introduction: http://docs.qgis.org/3.16/en/docs/gentle_gis_introduction/index.html
Download the sample data for the lesson.
